Monday, May 26, 2014

Blackberry Avocado Smoothie


I know, I know, green smoothies are all the rage and I admittedly partake in the trend, almost daily.  But sometimes, it's good to shake things up.  I had a bunch of blackberries that I had to use immediately and I've read that people use avocados in lieu of bananas in smoothies (I like a slight banana taste, so used half of both).  Enter: the Avocado Blackberry Bliss.  (I named it myself!)  Would you try this smoothie combo?
- half an avocado
- handful of blackberries (fresh or frozen)
- handful of strawberries (fresh or frozen)
- 1 t. chia seeds
- 1/2 c. almond milk
- half a banana (optional)- 1/2 c. kale or spinach (optional)


xoxo,
Joanna

Wednesday, May 7, 2014

Berries in Chocolate Bowls


Easy homemade candy ideas for valentines day
I guess this kind of falls under easy homemade candy. But I hesitate to say that because, well, it's really easy.  I recently got these classic chocolate bowl molds and have been excited to use them ever since.


Tips for using chocolate molds
Fill the molds 1/3 full with melted chocolate (I used dark chocolate). Don't over fill them or you'll have a lot of excess chocolate to shave off later, like I did. Oops. Give the mold a few taps on the counter and then press the top of the mold down onto the chocolate. Refrigerate overnight. Remove the chocolate bowls the next day.

Fill the bowls with a little jam (the jam adds sweetness as well as helps to hold the berries in place), then berries and then top with a little fresh whipped cream.
Chocolate berry bowls for valentines dayEasy to make valentine desserts
I think these would be adorable to serve after a special homemade dinner. Happy candy making! 

xoxo, Joanna

Thursday, April 17, 2014

Vegan Ice Cream

Non dairy ice cream


I've been on a current ice cream obsession (and it's getting out of hand). But, I always find myself gravitating towards making my own vegan ice cream. It's super easy and inexpensive, not to mention, healthy and guilt-free!


Raw ice cream

The basic recipe calls for frozen, blended bananas. Once blended they become creamy and delicious like soft serve ice cream. Depending on what you add in to flavor these you could create raw or vegan versions very easily. I decided to try out a few different variations.
Chocolate vegan ice cream

Chocolate Non Dairy Ice Cream, makes one serving.
Needed: 2-3 bananas, 1/4 cup water, 1 tablespoon cocoa powder (dutch processed preferred) and 2 tablespoons brown sugar.

Peel and chop up bananas and freeze in a zip lock bag overnight. Then blend in a food processor or blender with the water until creamy. You may need to let the bananas soften before blending. Then add in the cocoa and sugar and blend until combined. I topped mine with a few bits of toffee.
Vegan ice cream recipe

Banana Nut Non Dairy Ice Cream, makes one serving.
Needed: 2-3 bananas, 1/4 cup water, 1-2 tablespoons honey and 1/4 cup chopped walnuts.

Peel and chop up bananas and freeze in a zip lock bag overnight. Then blend in a food processor or blender with the water until creamy. You may need to let the bananas soften before blending. Stir in the honey and nuts.
Vanilla raw ice cream

Vanilla Non Dairy Ice Cream, makes one serving.
Needed: 2-3 bananas, 1/4 cup water, 1 teaspoon vanilla extract and 2-3 tablespoons sugar.

Peel and chop up bananas and freeze in a zip lock bag overnight. Then blend in a food processor or blender with the water until creamy. You may need to let the bananas soften before blending. Stir in the vanilla extract and sugar. I topped mine with some chocolate syrup.
Vegan ice cream

Have fun making up your own flavors!

xoxo, 
Joanna

Wednesday, April 16, 2014

Giant Single-Serving Chocolate Chip Cookie


Now that I'm back from my loonnngg break, I decided to come back with a delicious cookie recipe to make up for the time! I haven't been getting much sleep these past few weeks, which accounts for my late night cookie cravings. Clearly, one small cookie wasn't enough, so I made this giant single serving chocolate chip cookie that can actually make 3 smaller cookies! (Also delicious with peanut butter chips)

Ingredients:
2 tablespoons butter - very soft, almost melted
2 tablespoons brown cane sugar
2 tablespoons whisked egg
1 teaspoon vanilla
4 tablespoons whole wheat flour
1/2 teaspoon baking soda
1/4 teaspoon salt
1/4 cup chocolate chips

In a smaller bowl, mix together the butter and sugar with a wooden spoon. Measure in the egg and vanilla. Mix, mix, mix. Then add the flour, baking soda and salt and combine. Add the chocolate chips. Form a huge ball and place it on a baking sheet. Flatten it a bit and sprinkle salt on top. Bake it for 12 minutes on 190C. Enjoy!


xoxo,
Joanna


Wednesday, February 26, 2014

White Chocolate and Nutella Truffles

Nutella and white chocolate truffles
I love truffles all year round but there is something kind of suggesting that they're perfect for the winter-into-spring transition. It's post-Valentine's day, and (many) thanks to my dad, I ended up with not one, but two, boxes of truffles this year. While it's safe to say that those are all gone by now, I am still craving truffles so I made some more! 


Homemade Nutella truffles

White Chocolate and Nutella Truffles, makes 15-18
7 ounces dark chocolate
1 tablespoon butter
1/4 cup heavy whipping cream
1/3 cup Nutella
2 cups white chocolate chips
1 tablespoon oil (I used vegetable)
chocolate sprinkles (optional) 

In a double boiler (or a glass bowl set over simmering water) melt together the first four ingredients. Remove from heat and allow to cool. Cover and refrigerate for 2 hours. If you leave the mixture in the refrigerator for longer than 2 hours, it will likely become too firm to work with. So just allow it to soften at room temperature until you can.
How to make truffles
Use a melon baller or spoon to form small balls. I powder my hands and spoon with cocoa, so the mixture is easier to work with and doesn't stick to everything. Once you have all the truffles formed, place in the freezer for 5-10 minutes. 

In the mean time, melt the white chocolate and oil in a microwave safe bowl. I will microwave on high for 30 seconds, then stir, and repeat until the chocolate is melted. Dip each truffle in the melted chocolate to coat it, then place on a sheet of wax paper.
Nutella truffles

Add the chocolate sprinkles as you work, before the white chocolate has time to set. I usually drizzle on just a little more chocolate to the tops at the end, just to be fancy. Let these set over night or pop in them in the refrigerator for 30 minutes. Enjoy! 


xoxo,
Joanna

Tuesday, February 11, 2014

Raw, Vegan Vanilla Chia Seed Pudding


IMG_5753
Lately, I've been eating chia seed pudding. A whole lot. It's probably my favorite breakfast, snack, and even desert. And this is simple, plain, vanilla chia pudding that takes literally little to no time to make. 
What I’m about to share will make four servings of chia seed pudding. If you want to cut this recipe in half, you can, and heck, if you want to go crazy and double it, you can do that, too. But what you need to know is the basic ratio of chia seed to liquid that will yield perfect results. For me, it is:
Screen Shot 2013-07-30 at 4.05.44 PM
3 tablespoons:1 cup–that’s what you need to remember! The liquid can be any plant milk, but coconut water and juice are great, too.
When I’m making a single serving of chia pudding at a time, I usually just stir the cup of liquid and seeds together. I wait a minute or two, then stir again. I stir again five minutes later, and five minutes after that. After that, I just let it sit for an hour or two before enjoying. Usually, I’m prepping chia pudding for breakfast, so I let it sit overnight in the fridge. In the morning, I’ll add a tablespoon or two of extra almond milk if necessary.
When I make a bunch of servings at once, though, it’s much easier to make chia pudding in my blender. Here’s what you’ll need to make four servings at a time:
Screen Shot 2013-07-30 at 4.25.36 PM
IMG_5717
I add my almond milk, vanilla, and maple syrup to my blender and blend them up. Then, with the blender on a very low setting (the lowest setting in a regular blender, or about a 2 or 3 in the Vitamix), I add the chia seed.
IMG_5721
It blends up without getting stuck together, and it’s a fast way to mix things up. 
I transfer the whole thing to a mixing bowl and–just as with a single serving–I give it a stir.
IMG_5724IMG_5725
I give it another stir a moment or two later. I stir it five minutes later, and five minutes after that. Then I let it sit for an hour (thirty minutes will be enough time if that’s all you have) before transferring it to storage containers.
IMG_5730
I usually get about one quart and one small, half pint jar. For me, that’s about four servings.
IMG_5731
This chia breakfast is a parfait of 1 cup vanilla chia pudding, two tablespoons of flax seeds and almonds, two tablespoons of shredded coconut, and fresh blackberries. 
IMG_5757
It’s as beautiful as it is delicious–and fun to eat. Here it is, in snack size!
IMG_5740
IMG_5738
I like any berries on top of a chia pudding, but local blackberries have been particular giant (and delicious) lately.
IMG_5742
So, that’s my plain chia pudding process. Of course, you can add just about anything you like: ginger, cinnamon, cocoa, protein powder. This dish is easy to customize and uber pretty!
xoxo,
Joanna

Thursday, January 16, 2014

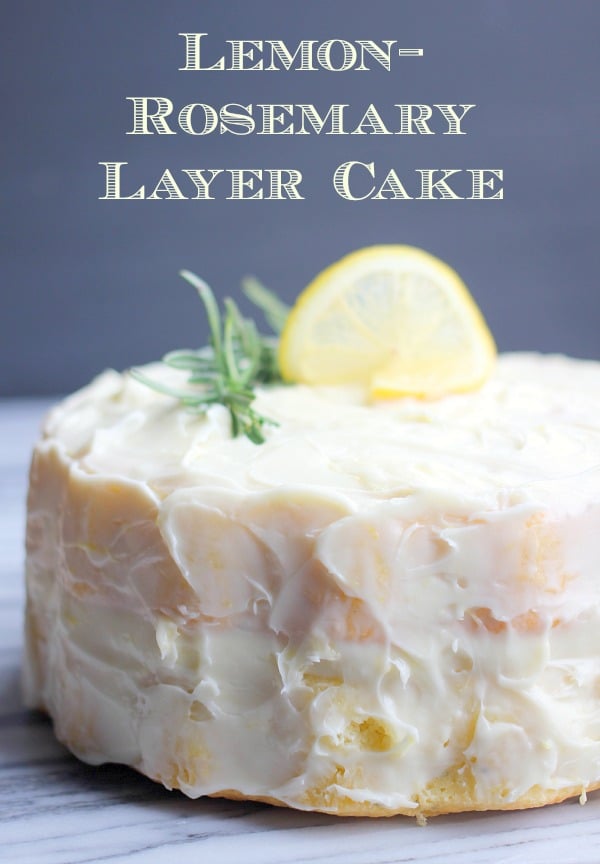
Lemon Rosemary Layer Cake


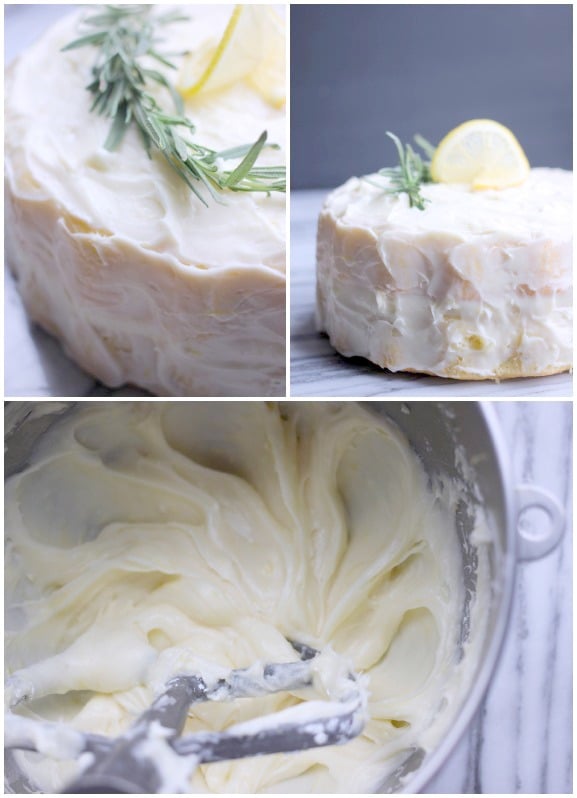
Fluffy Lemon-Rosemary Layer Cake with Lemon Cream Cheese Frosting- Baker Bettie

I made my first (decent) cake this weekend. That sounds like a small statement. But listen to me when I say, this is a big statement!
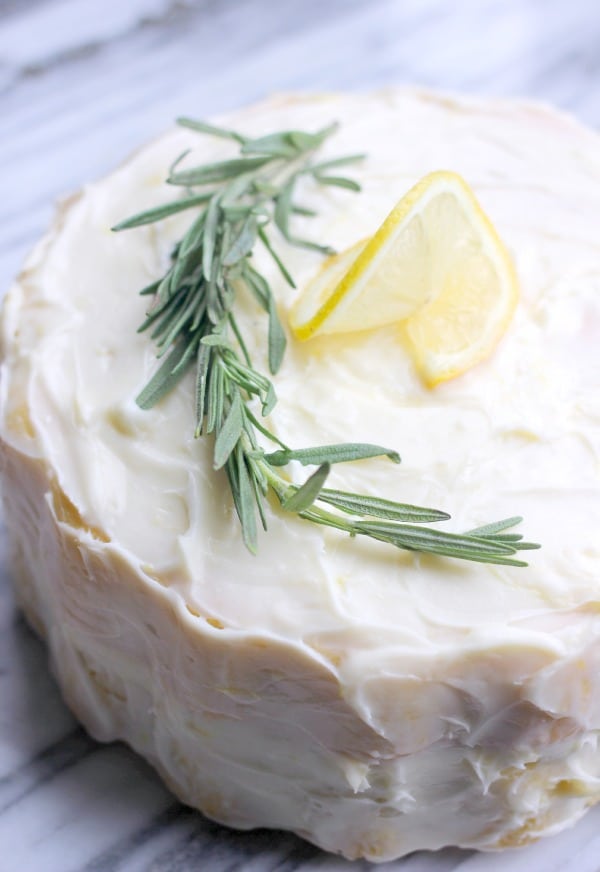
Cake is my baking arch enemy. I have just had so many failures with cakes. Because I made this cake for a larger amount of people, and not just myself, I used regular, normal cake-required ingredients! 


Fluffy Lemon-Rosemary Layer Cake with Lemon Cream Cheese Frosting- Baker Bettie
We bakers are known for our patience. Well, let me tell you this: I am not patient! Not at all. And this cake took me all freaking morning to make so it also took all my energy to keep myself in the cake baking game. To keep myself from taking any shortcuts and to just plain finish. I give those wedding cake bakers major cred. They deserve it.

Fluffy Lemon-Rosemary Layer Cake with Lemon Cream Cheese Frosting- Baker Bettie
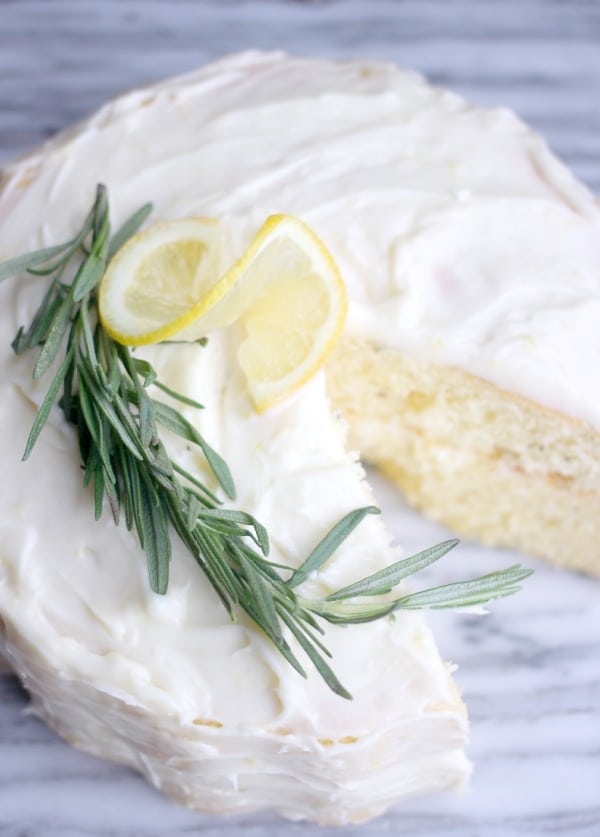
I kept the look of the frosting on this one simple. The reasons for this is 3-fold. #1: I wanted it to look a little old fashioned. #2: I pretty much only like making cream cheese frosting and it’s not the easiest to work with as far as decorating. #3: Let’s be honest, I don’t have any cake frosting skills. This is the best I could do. Oh well, one challenge at a time, folks! 
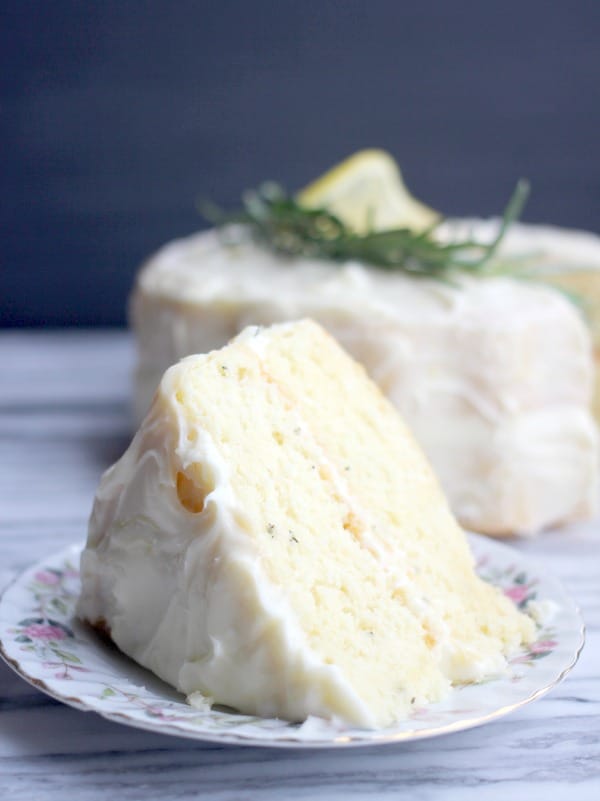
The cake turned out really light and fluffy! I am pretty pumped about the success! So I wanted to try something different for this post. I did step-by-step photos to help your cake turn out as light and fluffy as mine did! 

Fluffy Lemon-Rosemary Layer Cake with Lemon Cream Cheese Frosting- Baker Bettie

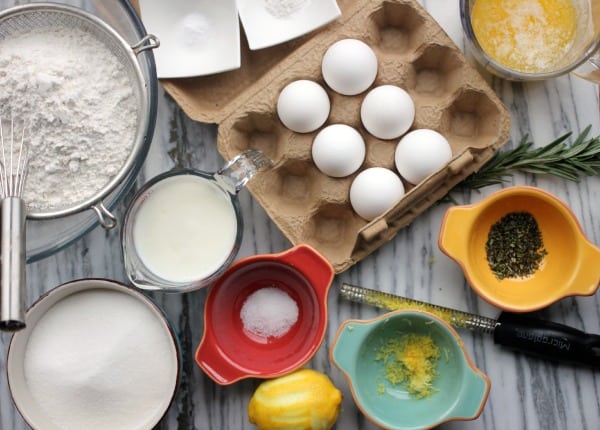
Everything is going to go a lot more smoothly if you get all your mise en place (getting everything in it’s place) before you start. Trust me. Then you know you need to run out in the ice to get more sugar before you actually start mixing anything (not that I had that problem or anything).
Hopefully you also put those eggs and that buttermilk out in enough time to come to room temperature too! You want a fluffy cake right? 
Fluffy Lemon-Rosemary Layer Cake with Lemon Cream Cheese Frosting- Baker Bettie
Preheat your oven to 350F!
Spray two 8″ or 9″ cake pans and dust with flour. Tap out the excess flour and set pans aside while you get your batter together! (things are getting exciting! more exclamations!)


Fluffy Lemon-Rosemary Layer Cake with Lemon Cream Cheese Frosting- Baker Bettie

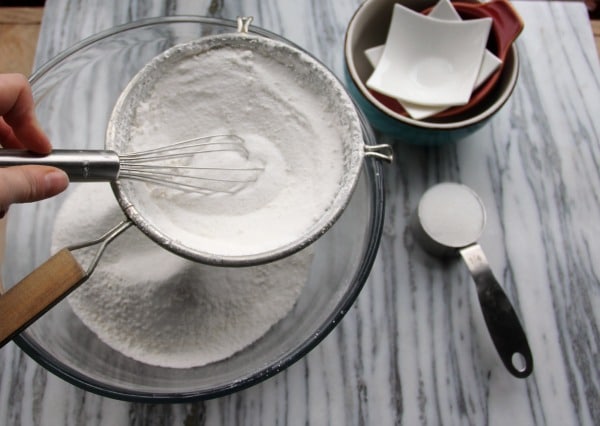
Gather up a large bowl, a sifter, the flour, salt, baking soda, baking powder, and sugar. Remove 1/4 cup of the sugar and set aside for later. Sift together everything (minus the 1/4 cup sugar).


Fluffy Lemon-Rosemary Layer Cake with Lemon Cream Cheese Frosting- Baker Bettie
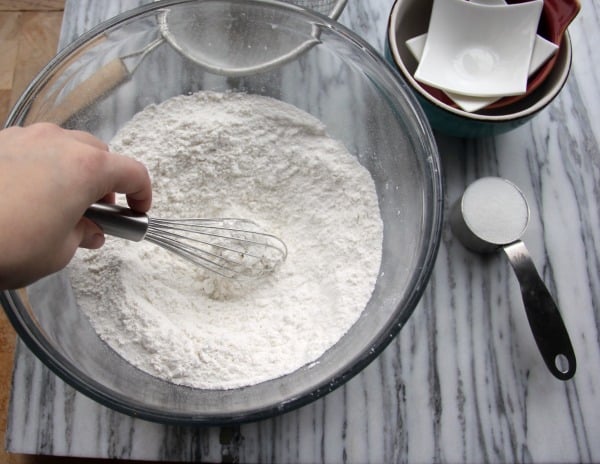
I like to use a whisk to speed things along since I don’t have a hand crank sifter. Baker’s trick!


Fluffy Lemon-Rosemary Layer Cake with Lemon Cream Cheese Frosting- Baker Bettie
Give it all one more quick whisk to combine everything and set the dry ingredients aside.


Fluffy Lemon-Rosemary Layer Cake with Lemon Cream Cheese Frosting- Baker Bettie
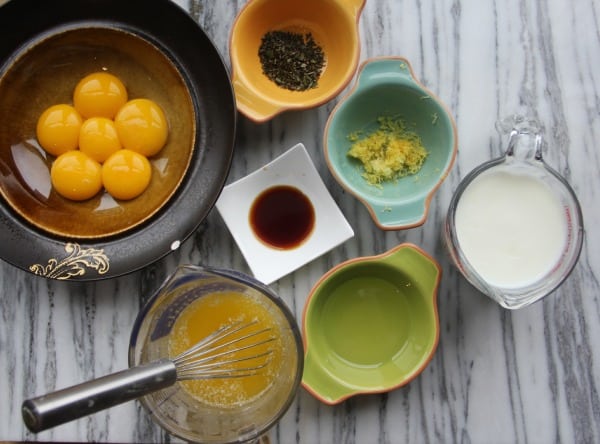
Moving on to the wet ingredients! Grab your egg yolks, melted butter, oil, vanilla, buttermilk, lemon zest, and chopped rosemary.


Fluffy Lemon-Rosemary Layer Cake with Lemon Cream Cheese Frosting- Baker Bettie
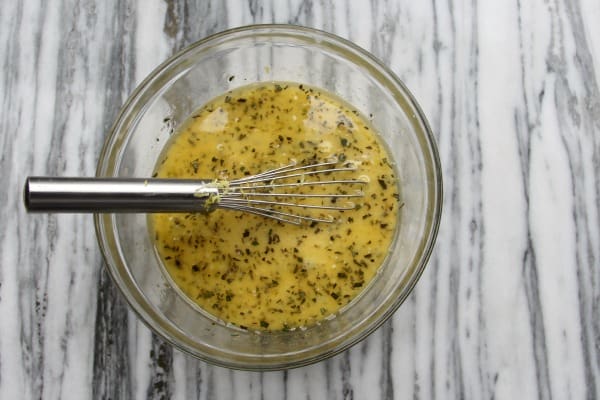
And give them all a quick whisk together and set aside.
Whew! This is hard work.


Fluffy Lemon-Rosemary Layer Cake with Lemon Cream Cheese Frosting- Baker Bettie

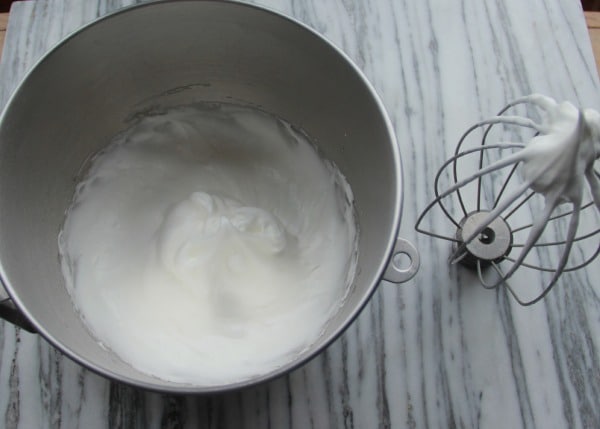
Now whip your egg whites in the mixer with the whisk attachment. Stream in the 1/4 cup sugar you reserved earlier with the mixer on high just until stiff peaks form. Like those ^ up there!
You just made simple meringue, snaps for you!


Fluffy Lemon-Rosemary Layer Cake with Lemon Cream Cheese Frosting- Baker Bettie
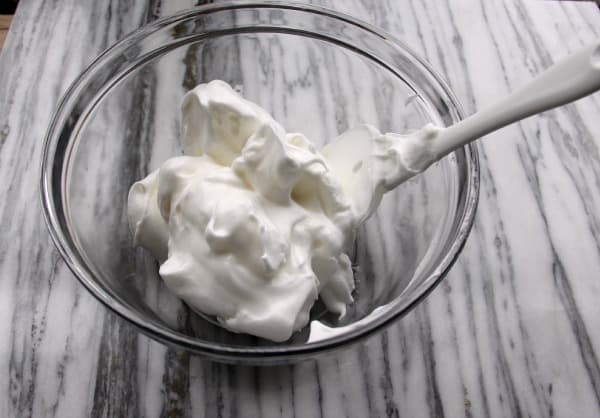
GENTLY move the meringue from the mixing bowl into a clean mixing bowl and set aside. If you let it move around too much, it flattens. ):


Fluffy Lemon-Rosemary Layer Cake with Lemon Cream Cheese Frosting- Baker Bettie
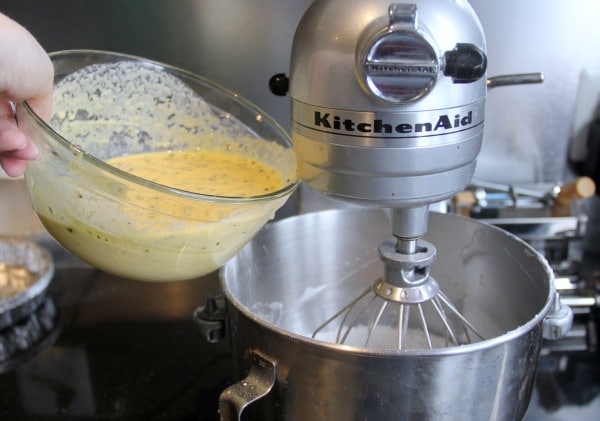
Finally, we can start making the batter! Add that dry ingredient mixture to the mixing bowl and with the mixer on low speed gradually pour in the wet ingredients.


Fluffy Lemon-Rosemary Layer Cake with Lemon Cream Cheese Frosting- Baker Bettie
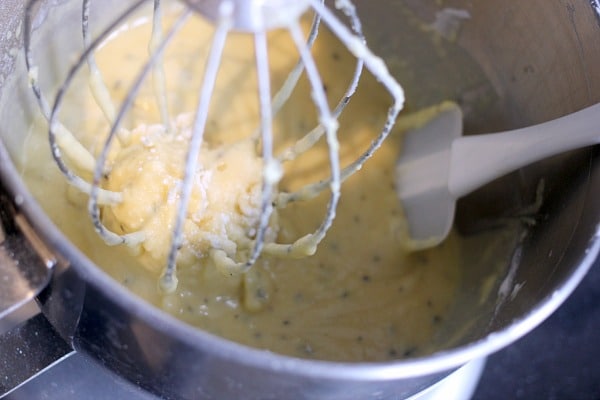
Mix for only about 10 seconds then shut off the mixer and scrape down the bowl. Mix for about 20 more seconds on low speed and shut off. We don’t want to over develop the glutens here! 


Fluffy Lemon-Rosemary Layer Cake with Lemon Cream Cheese Frosting- Baker Bettie
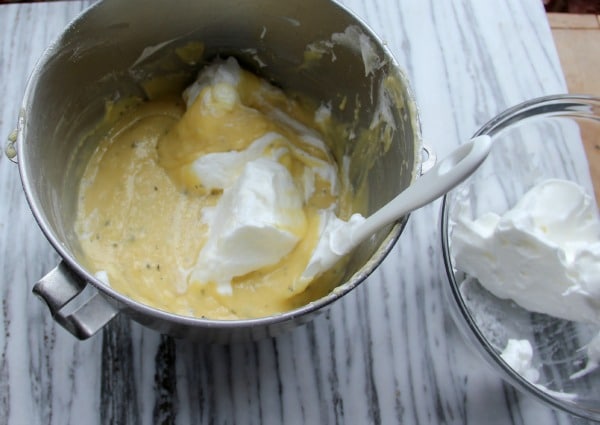
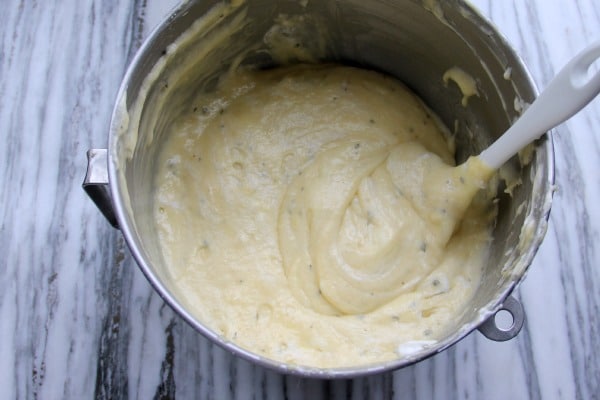
Gently fold 1/2 the meringue into the batter being very careful not to deflate the meringue.  Then, gently (see the pattern?) fold the rest of the meringue into the batter.


Fluffy Lemon-Rosemary Layer Cake with Lemon Cream Cheese Frosting- Baker Bettie
You will have a few white streaks in the batter. They will bake out. You want to fold as little as possible to keep the cake light and fluffy!


Fluffy Lemon-Rosemary Layer Cake with Lemon Cream Cheese Frosting- Baker Bettie
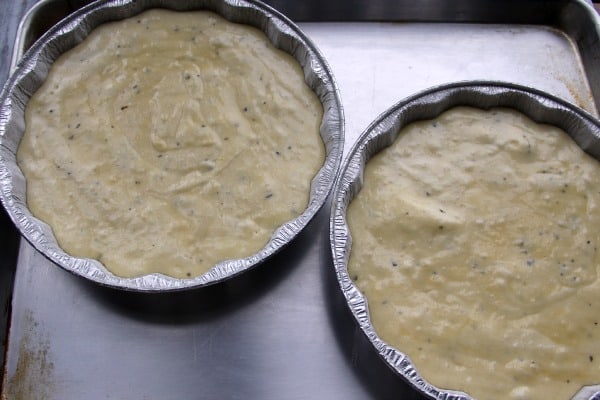
GENTLY divide the batter evenly between your prepared pans. Are you noticing a trend? GENTLE!
Bake at 350F for 20 minutes, rotating 1/2 way through.


Fluffy Lemon-Rosemary Layer Cake with Lemon Cream Cheese Frosting- Baker Bettie
Cool on a wire wrack. Ignore the imperfections! The top will become the bottom!


Fluffy Lemon-Rosemary Layer Cake with Lemon Cream Cheese Frosting- Baker Bettie
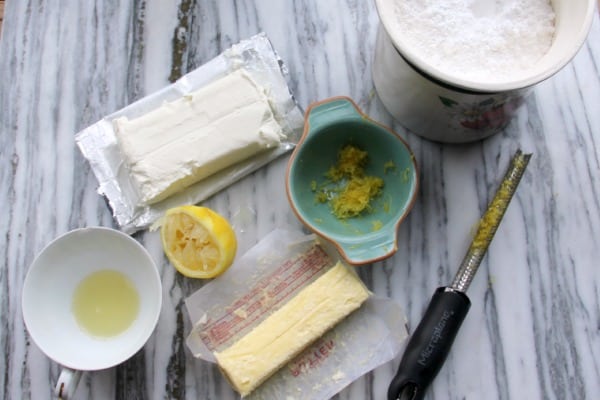
Make your frosting while the cake cools! Lemon cream cheese frosting!
Now frost your cake, take some pretty pictures, and share with someone special (or you could just keep it to yourself) :). 


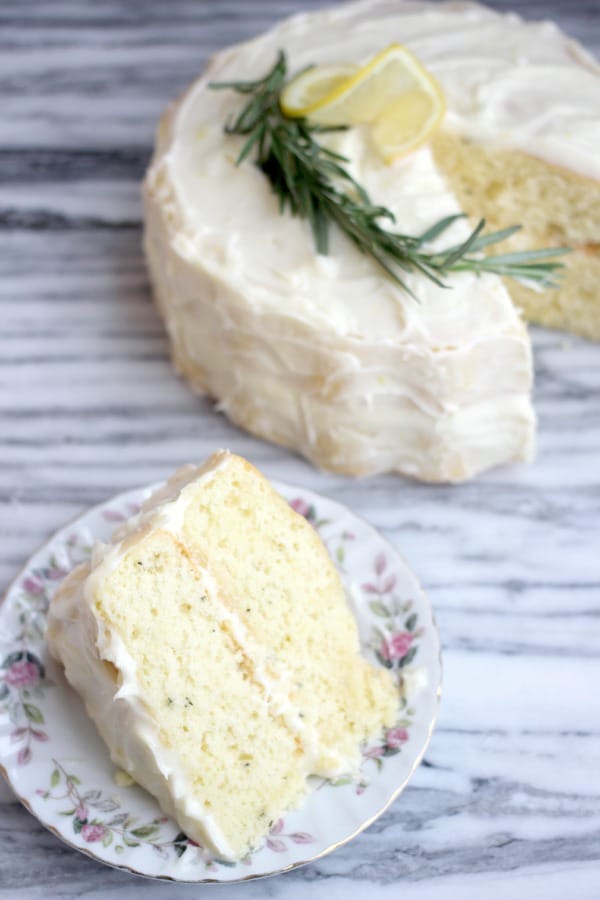
The cake is not overly sweet and I am obsessed with the herbaceousness that the rosemary brings! 
Fluffy Lemon-Rosemary Layer Cake with Lemon Cream Cheese Frosting- Baker BettieFluffy Lemon-Rosemary Layer Cake with Lemon Cream Cheese Frosting- Baker Bettie

Fluffy Lemon-Rosemary Layer Cake with Lemon Cream Cheese Frosting- Baker Bettie

Fluffy Lemon-Rosemary Layer Cake
Yield: 8-12
Ingredients
  • 2 1/2 cups cake flour, plus extra for dusting pans
  • 1 1/4 teaspoons baking powder
  • 1/4 teaspoon baking soda
  • 3/4 teaspoon table salt
  • 1 3/4 cups sugar (divided)
  • 10 tablespoons unsalted butter, melted and cooled slightly
  • 1 cup buttermilk, room temperature
  • 3 tablespoons vegetable oil
  • 2 teaspoons vanilla extract
  • 1 TBSP lemon zest
  • 1 TBSP fresh rosemary, minced
  • 6 large egg yolks, room temperature
  • 3 large egg whites, room temperature
Instructions
  1. Preheat oven to 350F. Grease two 8" or 9" round cake pans. Dust pans with flour and tap out excess any excess.
  1. In a large bowl whisk together flour, baking powder, baking soda, salt, and 1 1/2 cups sugar. In another bowl whisk together the melted butter, buttermilk, oil, vanilla, lemon zest, rosemary and egg yolks.
  1. For the meringue: In the bowl of your stand mixer fitted with whisk attachment, beat egg whites at medium speed until foamy. With machine running, stream in the remaining 1/4 cup sugar. Beat at high speed just until stiff peaks form. Gently transfer to a bowl and set aside.
  1. Add flour mixture to the empty stand mixer bowl fitted with whisk attachment. With mixer running at low speed, gradually pour in butter mixture and mix for about 10 seconds. Stop mixer and thoroughly scrape down the bowl. Mix again on medium for 20 more seconds just until combined.
  1. Using rubber spatula, gently fold in 1/2 of the meringue just until incorporated. Fold in the rest of the meringue. Be very gentle to not deflate the air in the meringue. You will have a few white streaks in the batter. Divide batter evenly between your prepared cake pans.
  1. Place pans on a half-sheet pan and bake on the center rack in the oven at 350F for 20-25 minutes, rotating halfway through. The cake will begin pulling away Bake until cake layers begin to pull away from sides of pans and will no longer giggle in the center when it is finished.
  1. Cool cakes in pans on wire rack for 20 minutes. Run a thin bladed knife around the sides of the pans to loosen cakes then invert on a greased wire rack. Allow to cool completely (about 1 more hour) before frosting.
Notes
Recipe adapted from Cook's Illustrated's Fluffy Yellow Cake


Lemon Cream Cheese Frosting
Ingredients
  • 8 oz. cream cheese, softened
  • 1/2 cup (1 stick) unsalted butter, softened
  • 1 TBSP lemon zest
  • 2T lemon juice
  • 1 tsp vanilla
  • 2 1/2 cup confectioners sugar
Instructions
  1. Combine all ingredients in the bowl of a stand mixer fitted with a paddle attachment. Mix on medium speed until combined and creamy. Scrape down the bowl as needed.
Have fun!
xx, Joanna